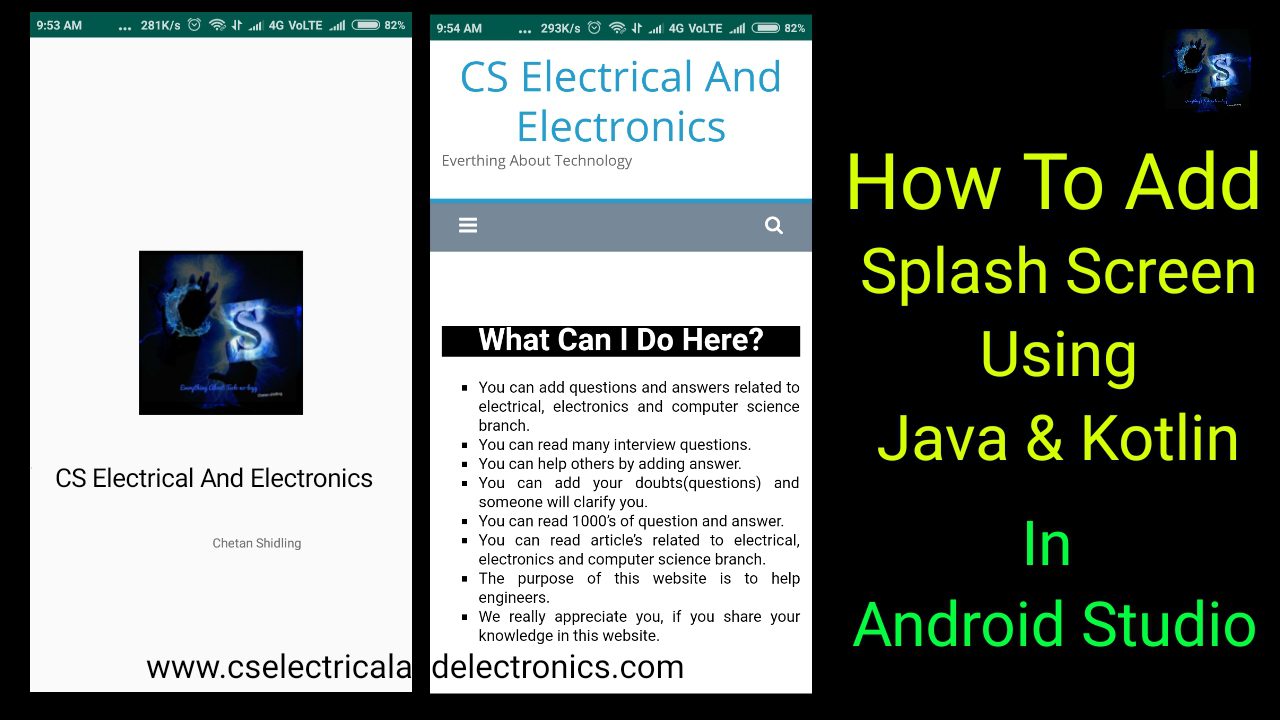
Hello guys, welcome back to my blog. In this article, I will discuss how to add a splash screen in-app using java and Kotlin in android studio, add splash screen using Kotlin in android studio, add splash screen using Java in android studio, code for the splash screen, etc.
If you need an article on some other topics then comment us below in the comment box. You can also catch me @ Instagram – Chetan Shidling.
Also, read:
- Front End And Back End Web Developer, Salary, Skills, Languages.
- Data science, Skills, Scope, Job profiles, Salary, Companies.
- Difference Between AWS, Microsoft Azure, And Google Cloud.
Splash Screen In-App Using Java And Kotlin
Why we need splash screen in app?
The android application takes some time to start especially when it loads for the first time on a device so after splash screen application will load suddenly. It is also used to build your brand by displaying using the logo at starting by which new customers will come to know about your company. It also builds loyalty and trust between the user and the owner. If you are fetching data from the database and it will take some time then you can set splash screen for four to five seconds. But if you are not fetching huge data then you can use a splash screen for 2 seconds.
Now, we will see how to add splash screen in app using Java and Kotlin in Android Studio.

01. Splash Screen Using Java
First, create new layout as you can see in below image. Layout -> right click -> New -> Activity – > Empty Activity.

Give name for that layout.

Now you need to add code in activity_splash.xml, SplashActivity.java, and AndroidManifest.xml.
In SplashActivity.java
package com.example.cselectricalandelectronics;

import android.content.Intent;
import android.os.Handler;
import android.os.Bundle;
import androidx.appcompat.app.AppCompatActivity;

/*written by chetan shidling
*/

public class SplashActivity extends AppCompatActivity {

    private Handler mHandler;
    private Runnable mRunnable;

    @Override
    protected void onCreate(Bundle savedInstanceState) {
        super.onCreate(savedInstanceState);
        setContentView(R.layout.activity_splash);

        mRunnable=new Runnable() {
            @Override
            public void run() {
            startActivity(new Intent(getApplicationContext(), MainActivity.class));
            }
        };
        mHandler=new  Handler();

        mHandler.postDelayed(mRunnable, 2000);
    }

    @Override
    protected void onDestroy() {
        super.onDestroy();
        if(mHandler!=null && mRunnable!=null)
        mHandler.removeCallbacks(mRunnable);
    }
}
In layout
<?xml version="1.0" encoding="utf-8"?>
<RelativeLayout xmlns:android="http://schemas.android.com/apk/res/android"
    xmlns:app="http://schemas.android.com/apk/res-auto"
    xmlns:tools="http://schemas.android.com/tools"
    android:layout_width="match_parent"
    android:layout_height="match_parent"
    tools:context=".SplashActivity">

    <ImageView
        android:id="@+id/imageView2"
        android:layout_width="201dp"
        android:layout_height="211dp"
        android:layout_marginStart="105dp"
        android:layout_marginLeft="105dp"
        android:layout_marginTop="230dp"
        android:layout_marginEnd="105dp"
        android:layout_marginRight="105dp"
        android:layout_marginBottom="290dp"
        app:layout_constraintBottom_toBottomOf="parent"
        app:layout_constraintEnd_toEndOf="parent"
        app:layout_constraintStart_toStartOf="parent"
        app:layout_constraintTop_toTopOf="parent"
        app:srcCompat="@mipmap/ic_launcher_foreground" />

    <TextView
        android:id="@+id/textView2"
        android:layout_width="377dp"
        android:layout_height="370dp"
        android:layout_below="@id/imageView2"
        android:layout_alignParentStart="true"
        android:layout_alignParentLeft="true"
        android:layout_alignParentEnd="true"
        android:layout_alignParentRight="true"
        android:layout_centerHorizontal="true"
        android:layout_marginStart="25dp"
        android:layout_marginLeft="25dp"
        android:layout_marginTop="-282dp"
        android:layout_marginEnd="9dp"
        android:layout_marginRight="9dp"
        android:layout_marginBottom="203dp"
        android:text="CS Electrical And Electronics"
        android:textSize="28sp"
        app:layout_constraintBottom_toBottomOf="parent"
        app:layout_constraintEnd_toEndOf="parent"
        app:layout_constraintHorizontal_bias="1.0"
        app:layout_constraintStart_toStartOf="parent"
        app:layout_constraintTop_toBottomOf="@+id/imageView2"
        app:layout_constraintVertical_bias="0.218" />

</RelativeLayout>
In AndroidManifest.xml
<?xml version="1.0" encoding="utf-8"?>
<manifest xmlns:android="http://schemas.android.com/apk/res/android"
    package="com.example.cselectricalandelectronics">

    <uses-permission android:name="android.permission.INTERNET" />

    <application
        android:allowBackup="true"
        android:icon="@mipmap/ic_launcher"
        android:label="@string/app_name"
        android:roundIcon="@mipmap/ic_launcher_round"
        android:supportsRtl="true"
        android:theme="@style/AppTheme">
        <activity android:name=".SplashActivity">
            <intent-filter>
                <action android:name="android.intent.action.MAIN" />

                <category android:name="android.intent.category.LAUNCHER" />
            </intent-filter>
        </activity>
        <activity android:name=".MainActivity"></activity>
    </application>

</manifest>
Now you run the code and it will show you splash screen.
02. Splash Screen Using Kotlin
Create new layout and give name.
In SplashActivity.kt
package com.webianks.bluechat

import android.content.Intent
import android.support.v7.app.AppCompatActivity
import android.os.Handler
import android.os.Bundle

/* Written by Chetan Shidling */

class ActivitySplash : AppCompatActivity() {
    private var mDelayHandler: Handler? = null
    private val SPLASH_DELAY: Long = 4000 //3 seconds

    internal val mRunnable: Runnable = Runnable {
        if (!isFinishing) {

            val intent = Intent(applicationContext, MainActivity::class.java)
            startActivity(intent)
            finish()
        }
    }

    override fun onCreate(savedInstanceState: Bundle?) {
        super.onCreate(savedInstanceState)
        setContentView(R.layout.activity_splash)
        //Initialize the Handler
        mDelayHandler = Handler()

        //Navigate with delay
        mDelayHandler!!.postDelayed(mRunnable, SPLASH_DELAY)

    }

    public override fun onDestroy() {

        if (mDelayHandler != null) {
            mDelayHandler!!.removeCallbacks(mRunnable)
        }

        super.onDestroy()
    }
}
In Layout
<?xml version="1.0" encoding="utf-8"?>
<android.support.constraint.ConstraintLayout xmlns:android="http://schemas.android.com/apk/res/android"
    xmlns:app="http://schemas.android.com/apk/res-auto"
    xmlns:tools="http://schemas.android.com/tools"
    android:layout_width="match_parent"
    android:layout_height="match_parent"
    tools:context=".ActivitySplash">

    <ImageView
        android:id="@+id/imageView"
        android:layout_width="201dp"
        android:layout_height="197dp"
        android:layout_marginStart="105dp"
        android:layout_marginTop="256dp"
        android:layout_marginEnd="105dp"
        android:layout_marginBottom="278dp"
        app:layout_constraintBottom_toBottomOf="parent"
        app:layout_constraintEnd_toEndOf="parent"
        app:layout_constraintStart_toStartOf="parent"
        app:layout_constraintTop_toTopOf="parent"
        app:srcCompat="@mipmap/ic_launcher_foreground" />

    <TextView
        android:id="@+id/textView"
        android:layout_width="160dp"
        android:layout_height="99dp"
        android:layout_marginStart="125dp"
        android:layout_marginTop="480dp"
        android:layout_marginEnd="126dp"
        android:layout_marginBottom="152dp"
        android:text="CasStyles"
        android:textSize="36sp"
        app:layout_constraintBottom_toBottomOf="parent"
        app:layout_constraintEnd_toEndOf="parent"
        app:layout_constraintStart_toStartOf="parent"
        app:layout_constraintTop_toTopOf="parent" />
</android.support.constraint.ConstraintLayout>
In AndroidManifest.xml
<?xml version="1.0" encoding="utf-8"?>
<manifest xmlns:android="http://schemas.android.com/apk/res/android"
    package="com.webianks.bluechat">

    <uses-permission android:name="android.permission.BLUETOOTH" />
    <uses-permission android:name="android.permission.BLUETOOTH_ADMIN" />
    <uses-permission android:name="android.permission.ACCESS_COARSE_LOCATION" />
    <uses-permission android:name="android.permission.ACCESS_FINE_LOCATION" />

    <application
        android:allowBackup="true"
        android:icon="@mipmap/ic_launcher"
        android:label="CasStyles"
        android:roundIcon="@mipmap/ic_launcher_round"
        android:supportsRtl="true"
        android:theme="@style/AppTheme">
        <activity android:name=".ActivitySplash">
            <intent-filter>
                <action android:name="android.intent.action.MAIN" />

                <category android:name="android.intent.category.LAUNCHER" />
            </intent-filter>
        </activity>
        <activity android:name=".MainActivity" />
    </application>

</manifest>
This is how you can add a splash screen in-app using Java and Kotlin in the android studio. I hope this article may help you all a lot. Thank you for reading. If you have any questions related to this article comment below.
Also, read:
- 100+ C Programming Projects With Source Code, Coding Projects Ideas
- 100+ Indian Startups & What They Are Building
- 1000+ Automotive Interview Questions With Answers
- 1000+ Interview Questions On Java, Java Interview Questions, Freshers
- 2026 Hackathons That Can Change Your Tech Career Forever
- App Developers, Skills, Job Profiles, Scope, Companies, Salary
- Applications Of Artificial Intelligence (AI) In Renewable Energy
- Applications Of Artificial Intelligence, AI Applications, What Is AI
- Applications Of Data Structures And Algorithms In The Real World
- Array Operations In Data Structure And Algorithms Using C Programming
- Artificial Intelligence Scope, Companies, Salary, Roles, Jobs
- AWS Lambda, Working, Cost, Advantages, Disadvantages
- AWS Technical Interview Questions, Top 200+ AWS Questions
- Battery Management Systems Using Artificial Intelligence
- Best Engineering Branch For Future
- Best Programming Languages For Electrical and Electronics Engineers
- Big Data, Evolution Of Big Data, Benefits Of Big Data, Opportunities
- Bit Operation In C Programming With Example & Applications
- Blockchain Projects For Computer Science Engineers
- Blockchain Technology, History, Working, Applications, Advantages